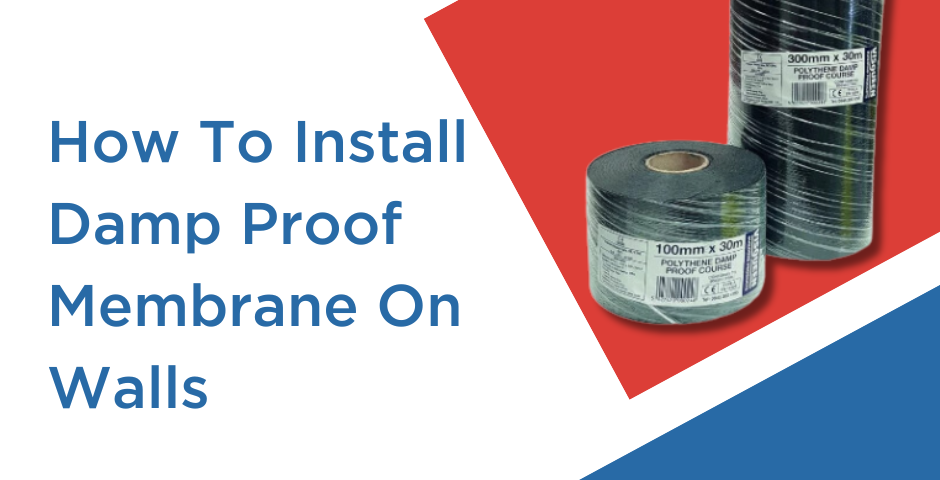
Installing a damp proof membrane or damp proof course (DPM) in buildings can prevent unwanted moisture from seeping into the inside walls of a property. It’s an essential material to stop dampness, ensuring the safety of your project and protecting against any potential damage it can cause.
Damp Proof Membrane Vs Damp Proof Course
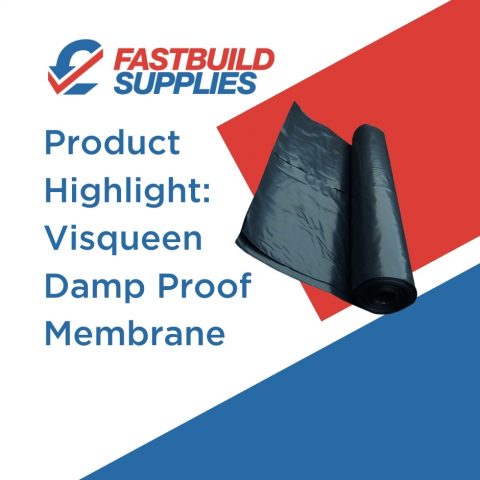
A damp proof membrane is a membrane-like material made from a type of plastic, like recycled polyethene. These are usually used to stop moisture from permeating the floors of a building and are installed before laying down wood or laminate flooring, but can also be used on walls.
On the other hand, a damp proof course is specially designed to be installed only on walls and not on flooring.
Our damp proof membranes are available in 25m or 12.5m rolls of various thicknesses. If you’d like to learn more about choosing the right thickness for your DMP, our guide below can help.
Benefits of Using Damp Proof Membrane (DPM)
There are numerous benefits to using DPM on the internal walls of your property, as it can protect it against:
- Damp (Rising, Penetrating and Condensation)
- Mould
- Salt Contamination
- Fractured Plastering
- Discoloured Walls
- Peeling Paint and Wallpaper
- Fungal Decay
- Thermal Heat Loss
- Avoids Unpleasant Musty Odours
- Avoids Decreasing Value of Property
- Prevents Structural Problems
- Prevents Damp-related Health Issues
How to Properly Install Damp Proof Membrane on Walls
- Prepare the Wall Surface
- Cut the DPM to Size
- Place the DPM on the Wall with Jointing Tape
- Neatly Seal Around Any Protrusions
- Fold the DPM Around the Corners
- Drill and Fix The DPM to Ensure a Tight Fit
- Apply a Wall Finish
1. Prepare the Wall Surface
It’s best to remove any existing plaster, as this can soften over time and weaken the membrane. Repair any damaged wall parts of the wall. If the plaster is in poor condition, it must be fully removed. If it’s in good condition, leaving it and fitting the damp proof membrane directly on top of it is fine.
Clean the wall surface to remove any debris and other bumps. Achieve a flat surface, as this will ensure the plaster/render applied after the DPM has been installed will be consistently flat, too, without differentiating thickness - ensuring it is less likely to crack.
If the wall isn’t flat, consider dubbing it out by applying sand and cement before installing the DPM. This even surface will make for better end results.
2. Cut the DPM to Size
Check if the DPM will be installed vertically or horizontally, then measure the size you’ll need and cut it to size with sharp scissors.
3. Place the DPM on the Wall with Jointing Tape
Place the membrane on the wall with the help of fixing plugs and DPM double-sided joint tape when overlaying (butt-jointing) pieces of membrane together. Firmly press the joint tape to ensure it’s properly attached.
4. Neatly Seal Around Any Protrusions
Cut the DPM carefully around any protrusions, such as pipework. Once you’ve done this, seal around the obstacle cautiously using damp proof membrane sealant, such as the Black Jack DPM Everbuild, which acts effectively as an adhesive.
5. Fold the DPM Around the Corners
Neatly fold the damp proof membrane around the corners of the wall and attach using joint tape. Ensure the membrane is pulled tight for a good fit.
6. Drill and Fix the DPM to Ensure a Tight Fit
Drill and fix the damp proof membrane to ensure a tight fit against the wall.
7. Apply a Wall Finish
Finally, once the damp proof membrane has been fixed, you can go ahead and start plastering on top of the DPM. Or, you can use an alternative suitable internal wall finish.
Does a Damp Proof Membrane Weaken a Wall?
As long as you’ve taken relevant steps to prepare your wall surface and have installed the DPM correctly, there’s no reason for it to weaken your walls. You’re more likely to suffer from weakened walls without a DPM, as your internal walls are at higher risk of softening and becoming damaged due to moisture penetrating through the walls.
Can You Use Damp Proof Membranes on Plasterboard Walls?
Yes, if the plasterboard is in good condition and hasn’t suffered damage, installing DPM on top of it is possible. However, for best results we recommend removing any existing plaster, especially if it’s at risk from dampness or it has been damaged.
By following these steps, you can effectively install a damp proof membrane on walls, ensuring dry, long-standing interior walls.
If you’d like to learn how to install damp proof membrane on concrete floors, our previous guide can help.


