Metal wall lining systems are a good option when it comes to providing a clean finish to internal walls. They’re also really quick and easy to install. Here, we show you through the process.
What is a Wall Lining System?
Wall lining systems are a quick and cost-effective method of lining walls in either a new build or renovation work. A wall lining system requires little to no background preparation and allows for a smooth plasterboard finish to be placed over rough brick surfaces.
There are alternative options for dry lining walls, but few are as quick, efficient and effective as a metal wall lining system.
What You’ll Need to Install a Wall Lining System
Here is a list of the main components you’ll need to install a wall lining system. Remember, everything you need can be found at great trade prices here at Fastbuild.
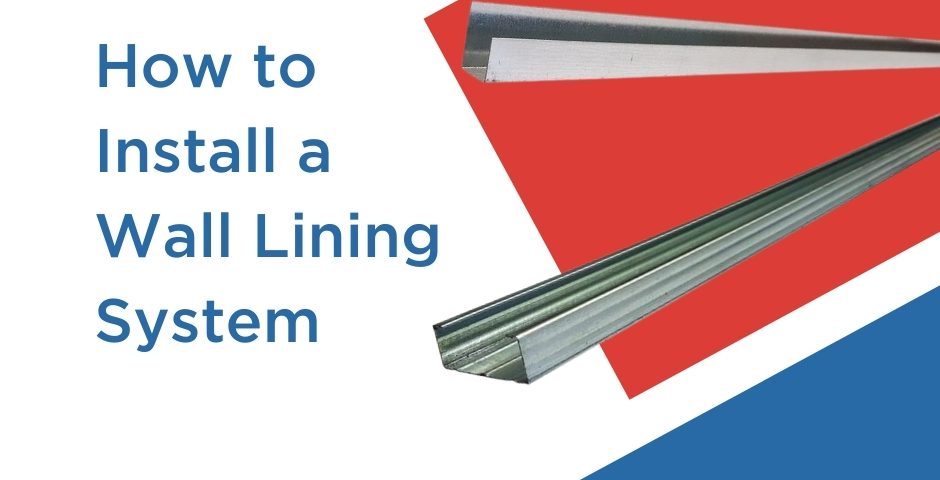
- Liner metal stud
- Liner track
- Drywall brackets
- Channel connectors (if extension required)
- Wafer head screws
- Drywall screws
1. Preparing the Wall
Very little preparation is needed for wall lining systems. However, if skirting boards are removed, the plaster won’t often reach the floor’s surface, and there can be gaps between the floorboards and masonry wall. When this happens, fill the void to minimise air leakage once the wall liner is installed.
Also, if there are any electrical outputs or services, ensure these have been isolated before starting.
2. Determine the Standoff
The first stage is determining the required standoff for your wall lining system. To do this, you’ll need to take into account the high point of the wall or any services that will be located in the lining system.
Use a straight edge and level to work out the standoff. When the required standoff is found, mark plumb positions of the track on the floor and ceiling, then use a chalk line to indicate the position of the track.
Fix the track to the perimeters of the wall, with the longer leg to the room, with appropriate fixings at 600mm centres.
3. Installing the Brackets
Mark the wall at 600 mm vertical centres, and horizontal lines at 800mm centres, to indicate the positioning of lining channels and bracket fixings. Then, fix each liner bracket with its ribs to the wall through the bracket slot using appropriate fixings.
4. Installing the Liner Studs
When the liner studs are cut to length, install them across the wall at marked and bracketed sections, and also at openings and internal or external angles.
To install the channels, pull them towards you to put pressure against the track - doing this will allow you to slide it into position. Ensure the channels are cut to a good fit within the track so they fit neatly inside and not on top.
When the channels are in position, bend the brackets forward and fix using a wafer head screw through the bracket’s furthest-back hole against the channel. Bend back any protruding bracket legs so they are clear of the channel face.
At internal angles or corners, bend one side of the bracket across the channel face and fix with a wafer head screw to secure it in position.
5. Installing the Lining System at Openings
To form the head and sill at openings, you need to use a liner track. Mark it 150mm wider than the opening on both sides and cut and cloak over the lining channel on either side, then secure with wafer head screws into the channels.
Install short sections of liner stud above the opening for additional support. Fix using wafer head drywall screws.
6. Installing Plasterboard
Measure the height of the board required, then cut to fit. Fix the plasterboard to the lining system at 300mm centres.
At openings, ensure you return the thermal board into the reveals to reduce thermal bridging around these points. Use sealant as an adhesive, and then fix at 200mm centres, ensuring that linings are sealed to reduce air leakage.
If the wall includes services, such as electrical outputs, these may require plywood pattressing.
Continue to install plasterboard until the wall lining system is complete.
Installing a wall lining system is a quick and effective way of creating a wonderful finish for any build. If you need any more equipment for your next job, be sure to check out our wide range of trade building supplies here at Fastbuild.


