Self-levelling compound is a versatile material used to create a smooth and level surface on floors before installing various types of flooring, such as tile, hardwood, laminate, or carpet.
Whether you're preparing a subfloor for new flooring installation or fixing uneven surfaces, a self-levelling compound can save you time and effort. This guide will walk you through the steps of using self-levelling compounds and provide valuable tips for a successful installation.
Tips on Using Self-Level Compound
By following these tips, you can achieve a smooth and level surface that's ready for your chosen flooring material:
- Make sure you read the manufacturer's instructions carefully and follow them closely.
- Use the correct type of self-levelling compound for your project, as there are variations for different applications, for example, inside and outside floors.
- Work quickly but carefully when spreading the compound, as it sets rapidly.
- Avoid overmixing the compound, as it can introduce air bubbles.
- Prime the subfloor if recommended by the manufacturer.
- Wear proper safety gear, especially when mixing and handling the compound.
- Plan your exit strategy to avoid getting trapped in the working area.
- Ensure the room is well-ventilated during and after the application.
- Protect walls and vertical surfaces with painter's tape to prevent compound splashes.
- Keep a bucket of clean water and a sponge nearby to clean any spills immediately.
- Using a self-levelling compound can significantly improve the quality and durability of your flooring installation.
How to Use Self-Levelling Compound
Before starting with self-levelling compound, make sure you have the following materials:
- Self-levelling compound
- Water
- Mixing bucket
- Drill with mixing paddle attachment
- Primer (if required)
- Trowel
- Spike roller
- Measuring container
- Level
- Painter's tape
- Safety gear (gloves, safety glasses, and a dust mask)
1. Prepare the Surface
Firstly, ensure that the subfloor is clean, dry, and free of debris. Repair any cracks or holes, and remove any adhesive or old flooring materials. Vacuum and sweep the area thoroughly. It's essential to have a smooth and dust-free surface for the self-levelling compound to adhere properly.
2. Use a Primer
If the manufacturer of your self-levelling compound recommends it, apply a suitable primer to the subfloor. Follow the manufacturer's instructions for drying time, typically 1-2 hours. Using a primer can be needed to prevent too much moisture from escaping the self-levelling concrete, and it also helps with adhesion and ensures a smoother finish.
3. Mix the Compound
Follow the manufacturer's instructions for mixing the self-levelling compound. Typically, you'll need to add water to the compound in a mixing bucket. Use a drill with a mixing paddle attachment to ensure a smooth and lump-free consistency. Mix slowly to avoid introducing air bubbles.
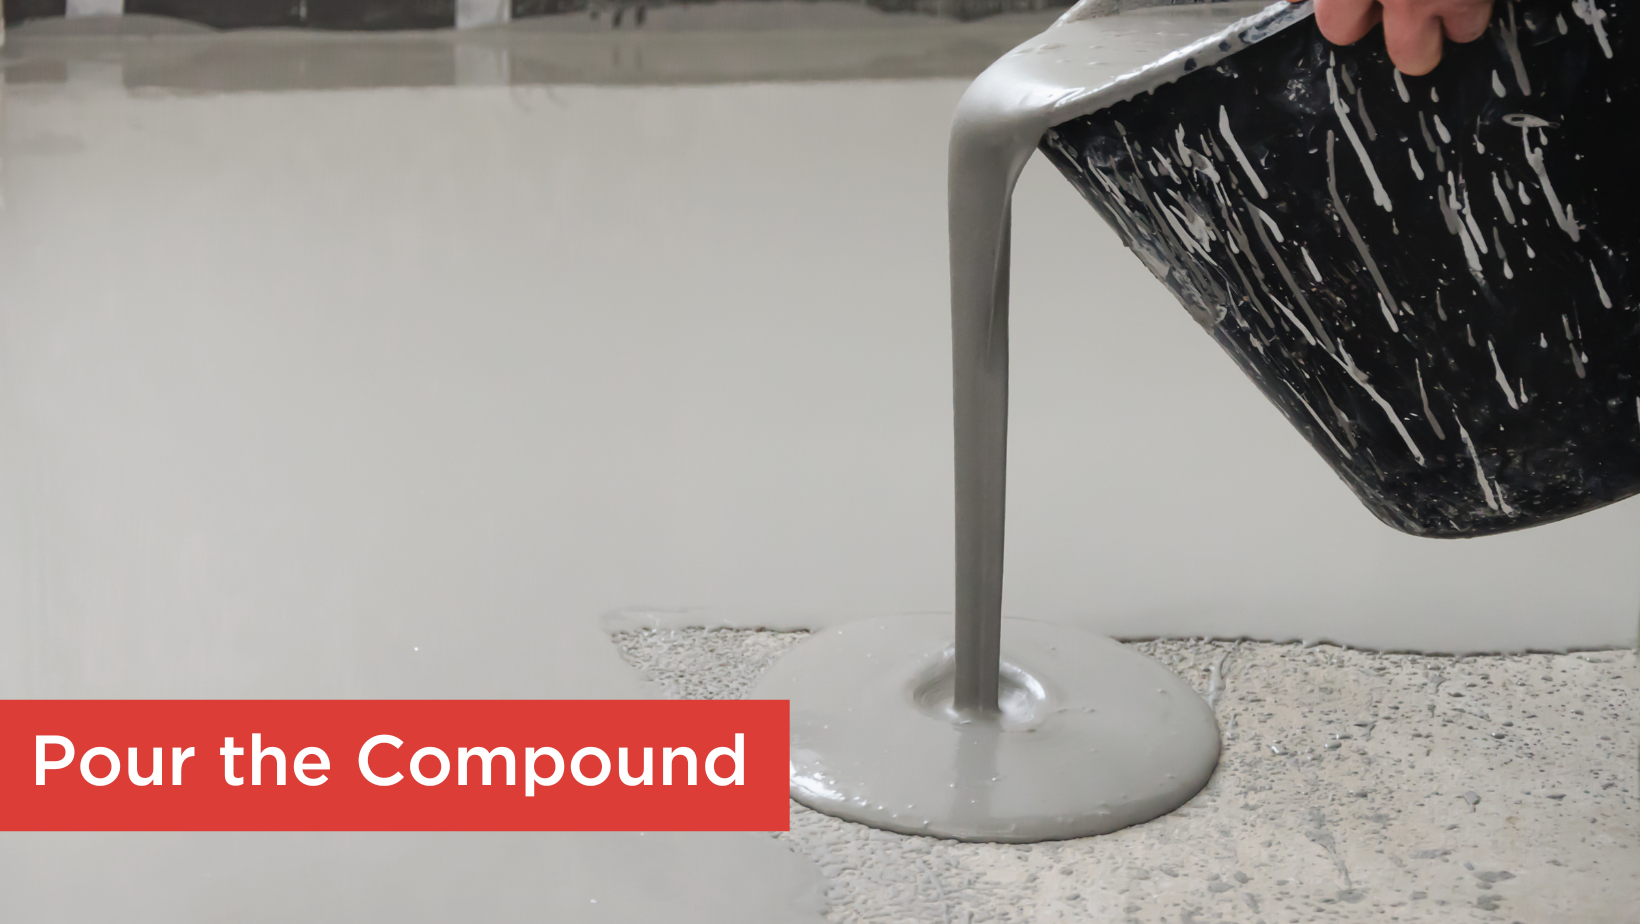
4. Pour the Compound
Start by pouring a small amount of mixed compound onto the prepared subfloor, working from the farthest corner towards the exit. This ensures you won't trap yourself in a corner as you work.

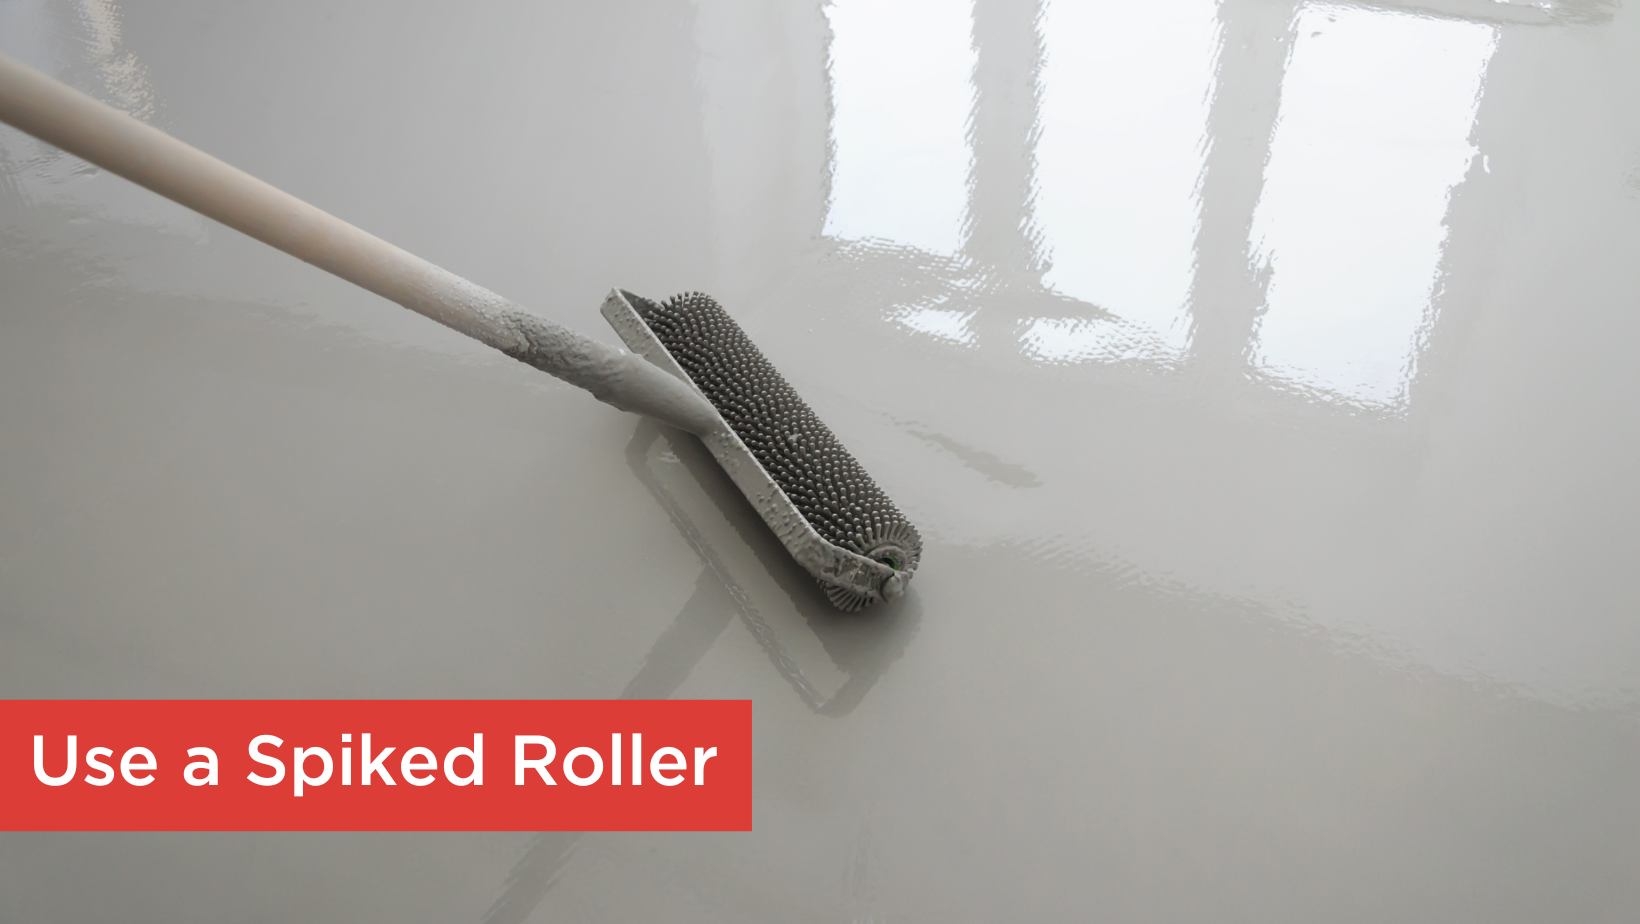
5. Spreading and Smoothing
Use a trowel or a gauge rake to spread the compound evenly across the floor. Aim for an even thickness of about 3-6mm. Pay attention to the edges and corners to avoid any low spots. Work swiftly as self-levelling compound sets quickly.
To remove air bubbles or imperfections, lightly run a spiked roller over the surface of the compound while it's still wet.
6. Checking the Level
Place a level on the freshly poured compound to verify that it's level. Make any necessary adjustments immediately by adding or removing compound as needed.
7. Drying Time
Allow the self-levelling compound to dry according to the manufacturer's instructions. Do not walk on or disturb the surface during this time. Typically, it takes 1-6 hours for the surface to be walkable and 24 hours or more for full curing, depending on conditions like temperature and humidity.
Our 708 Self Level Floor Compound sets in 90 minutes and can be overlaid after only 8 hours at normal temperatures.
8. Inspect and Sand (if needed)
After the compound has dried, inspect the surface for any imperfections or rough spots. You can sand down any high points or ridges with sandpaper to achieve a perfectly smooth finish.
9. Flooring Installation
Once the self-levelling compound is dry and smooth, you're ready to install your flooring material of choice according to the manufacturer's guidelines.
10. Clean Up
Clean your tools and equipment with water immediately after use, as the self-levelling compound can harden quickly.