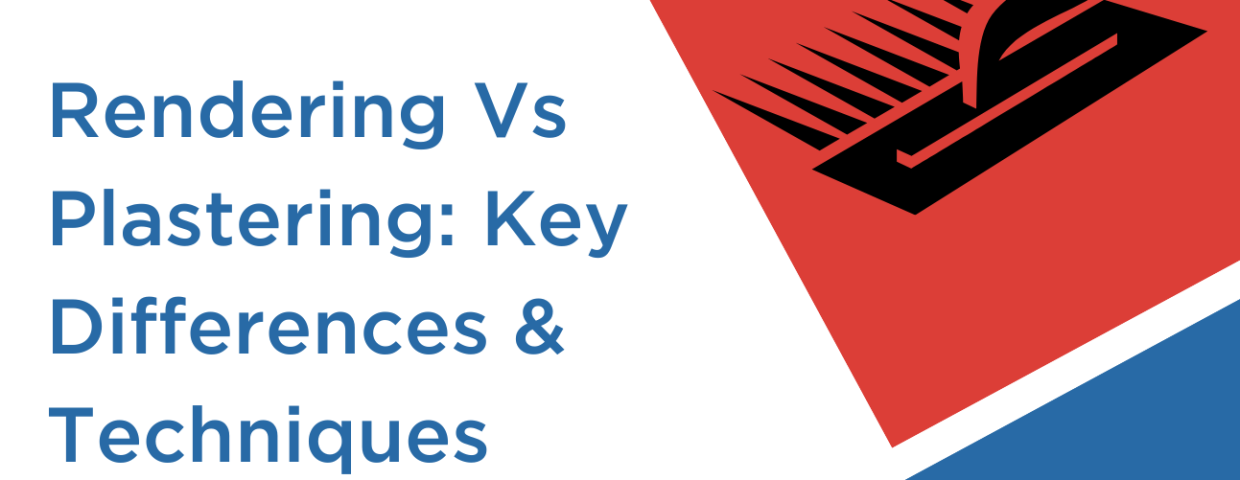
In the world of construction and renovation, rendering and plastering are two essential techniques used to enhance the aesthetics and durability of walls and surfaces. While both methods involve applying a thin layer of material onto a substrate, they serve different purposes and distinct techniques are used for them.
Let’s explore the key differences between rendering and plastering and the best techniques to use.
 Want to know more about rendering or plastering? Contact us at Fastbuild today. We’re more than happy to help.
Jump straight to:
- What is Rendering?
- Types of Rendering
- Why is Rendering Important?
- What is Plastering?
- Why is Plastering Important?
- Rendering Vs Plastering: Key Differences
- Different Rendering Techniques
- Different Plastering Techniques
What is Rendering?
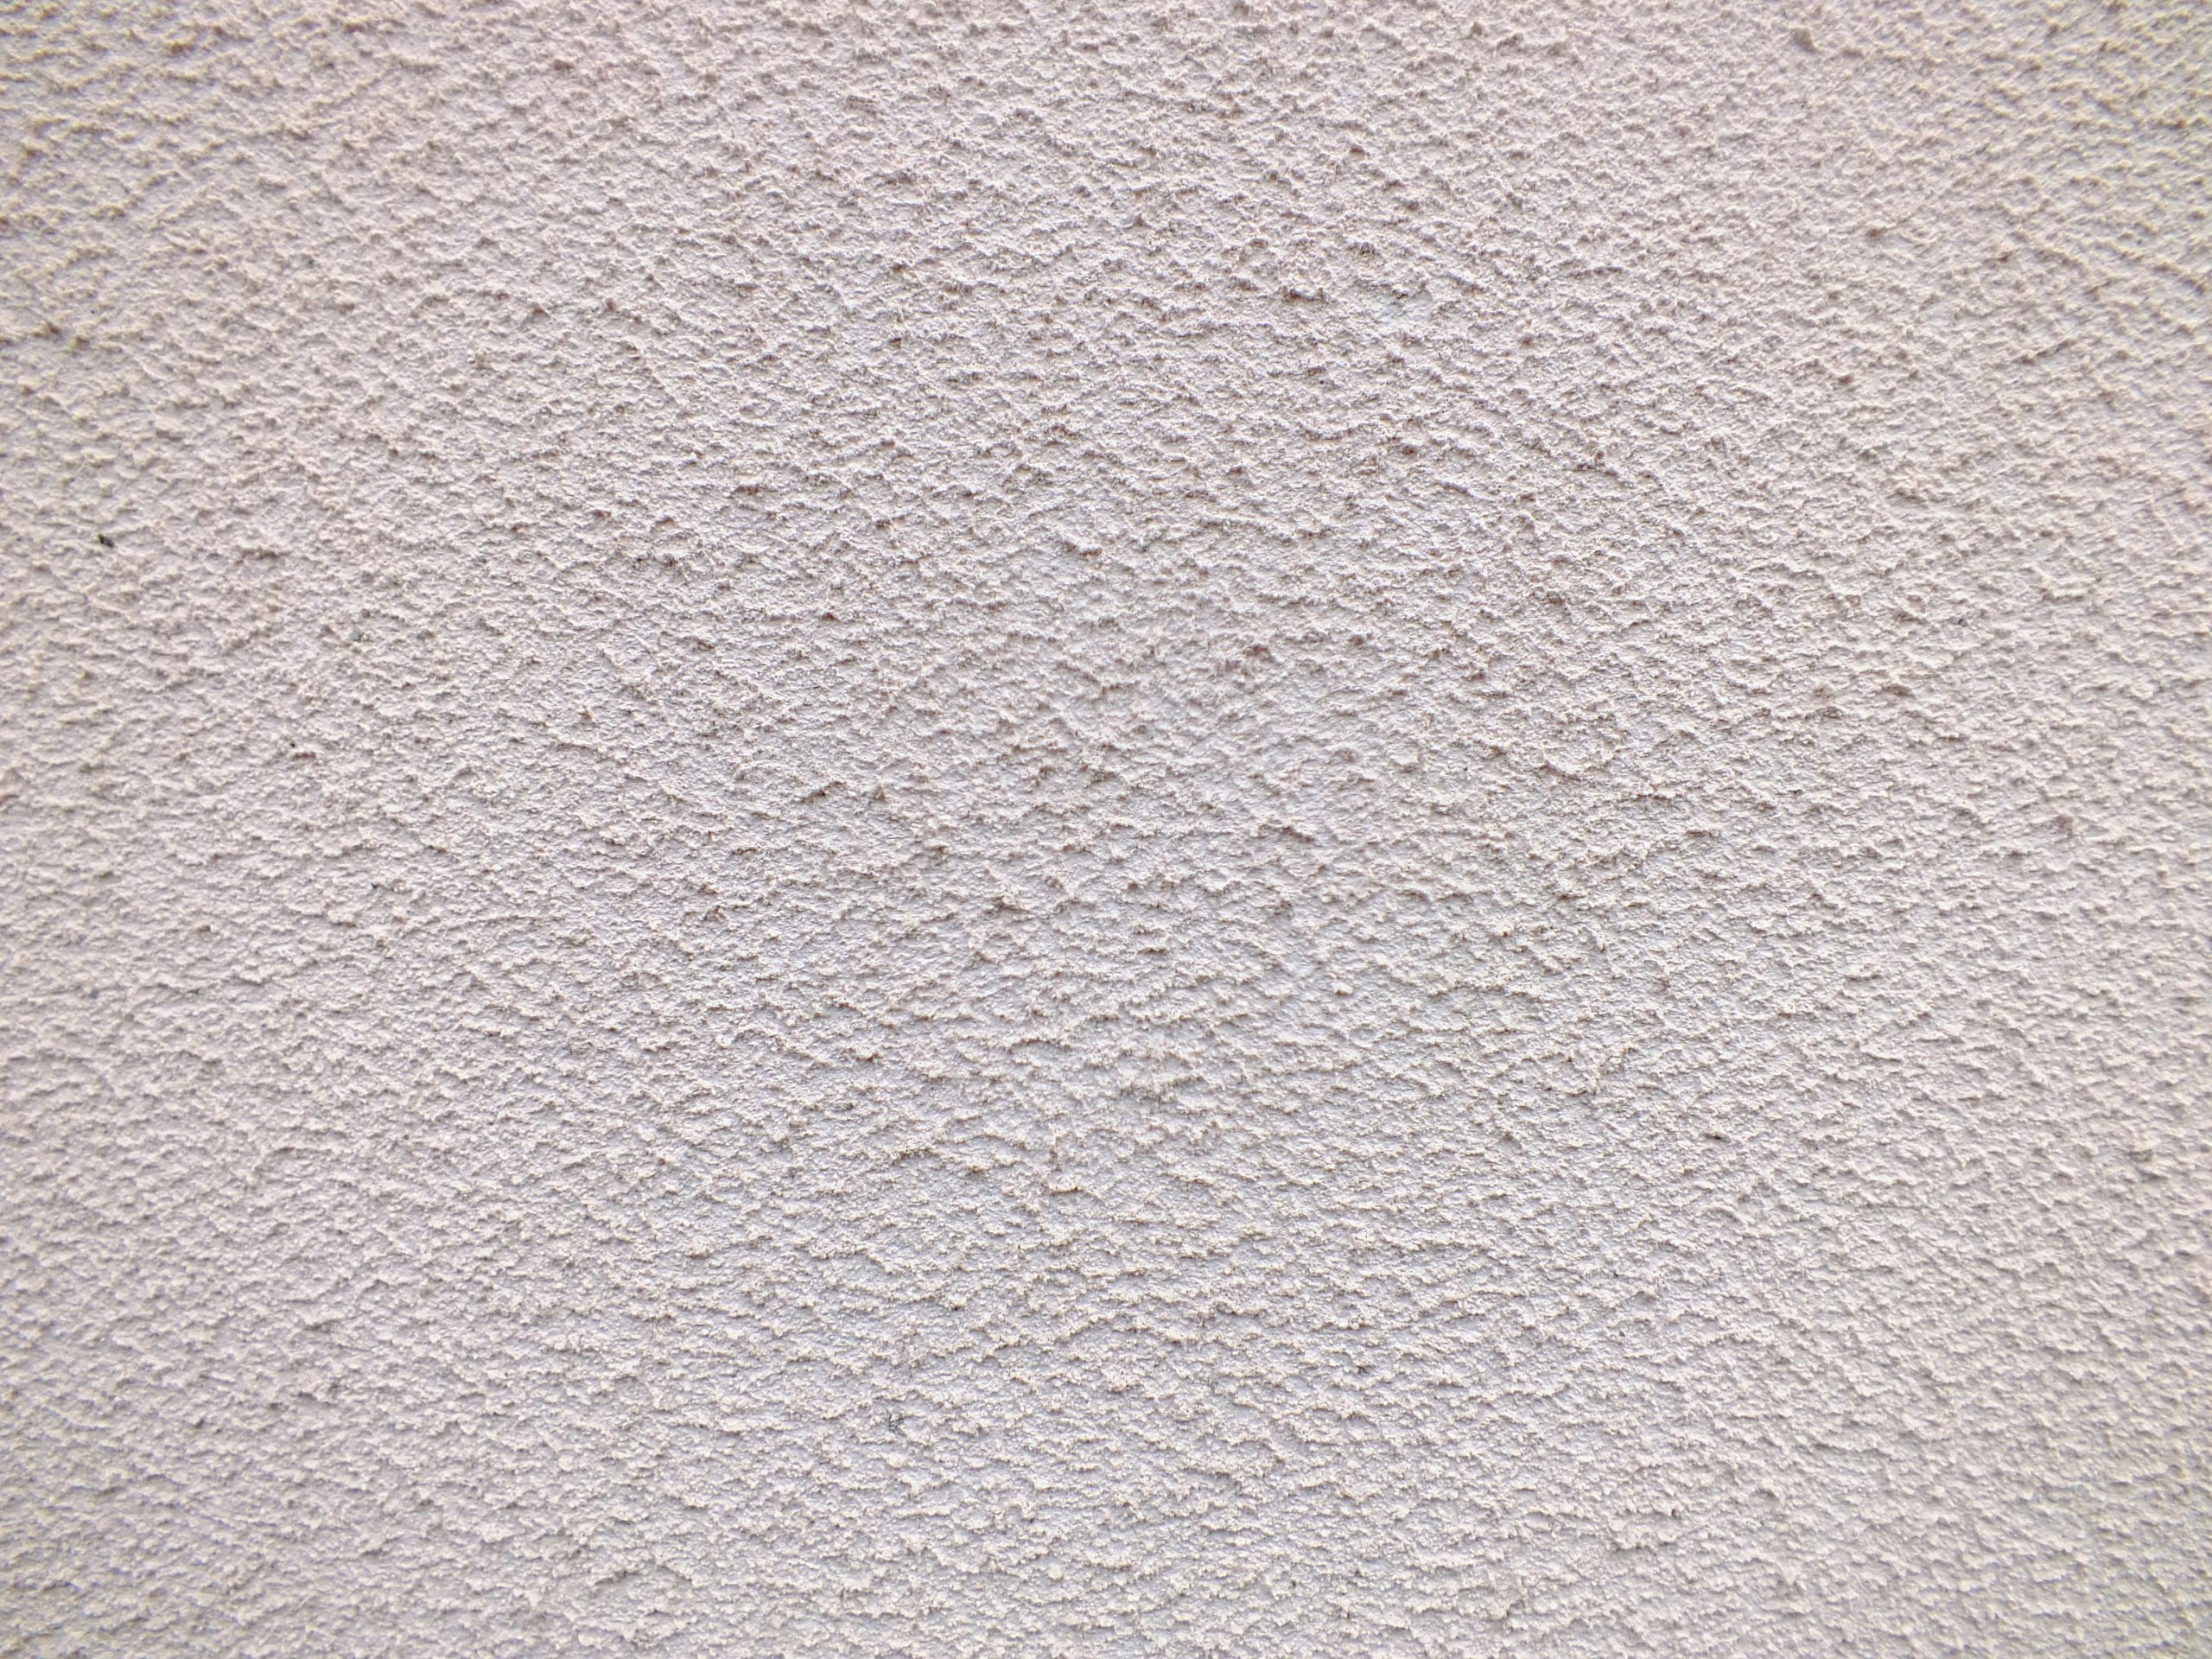
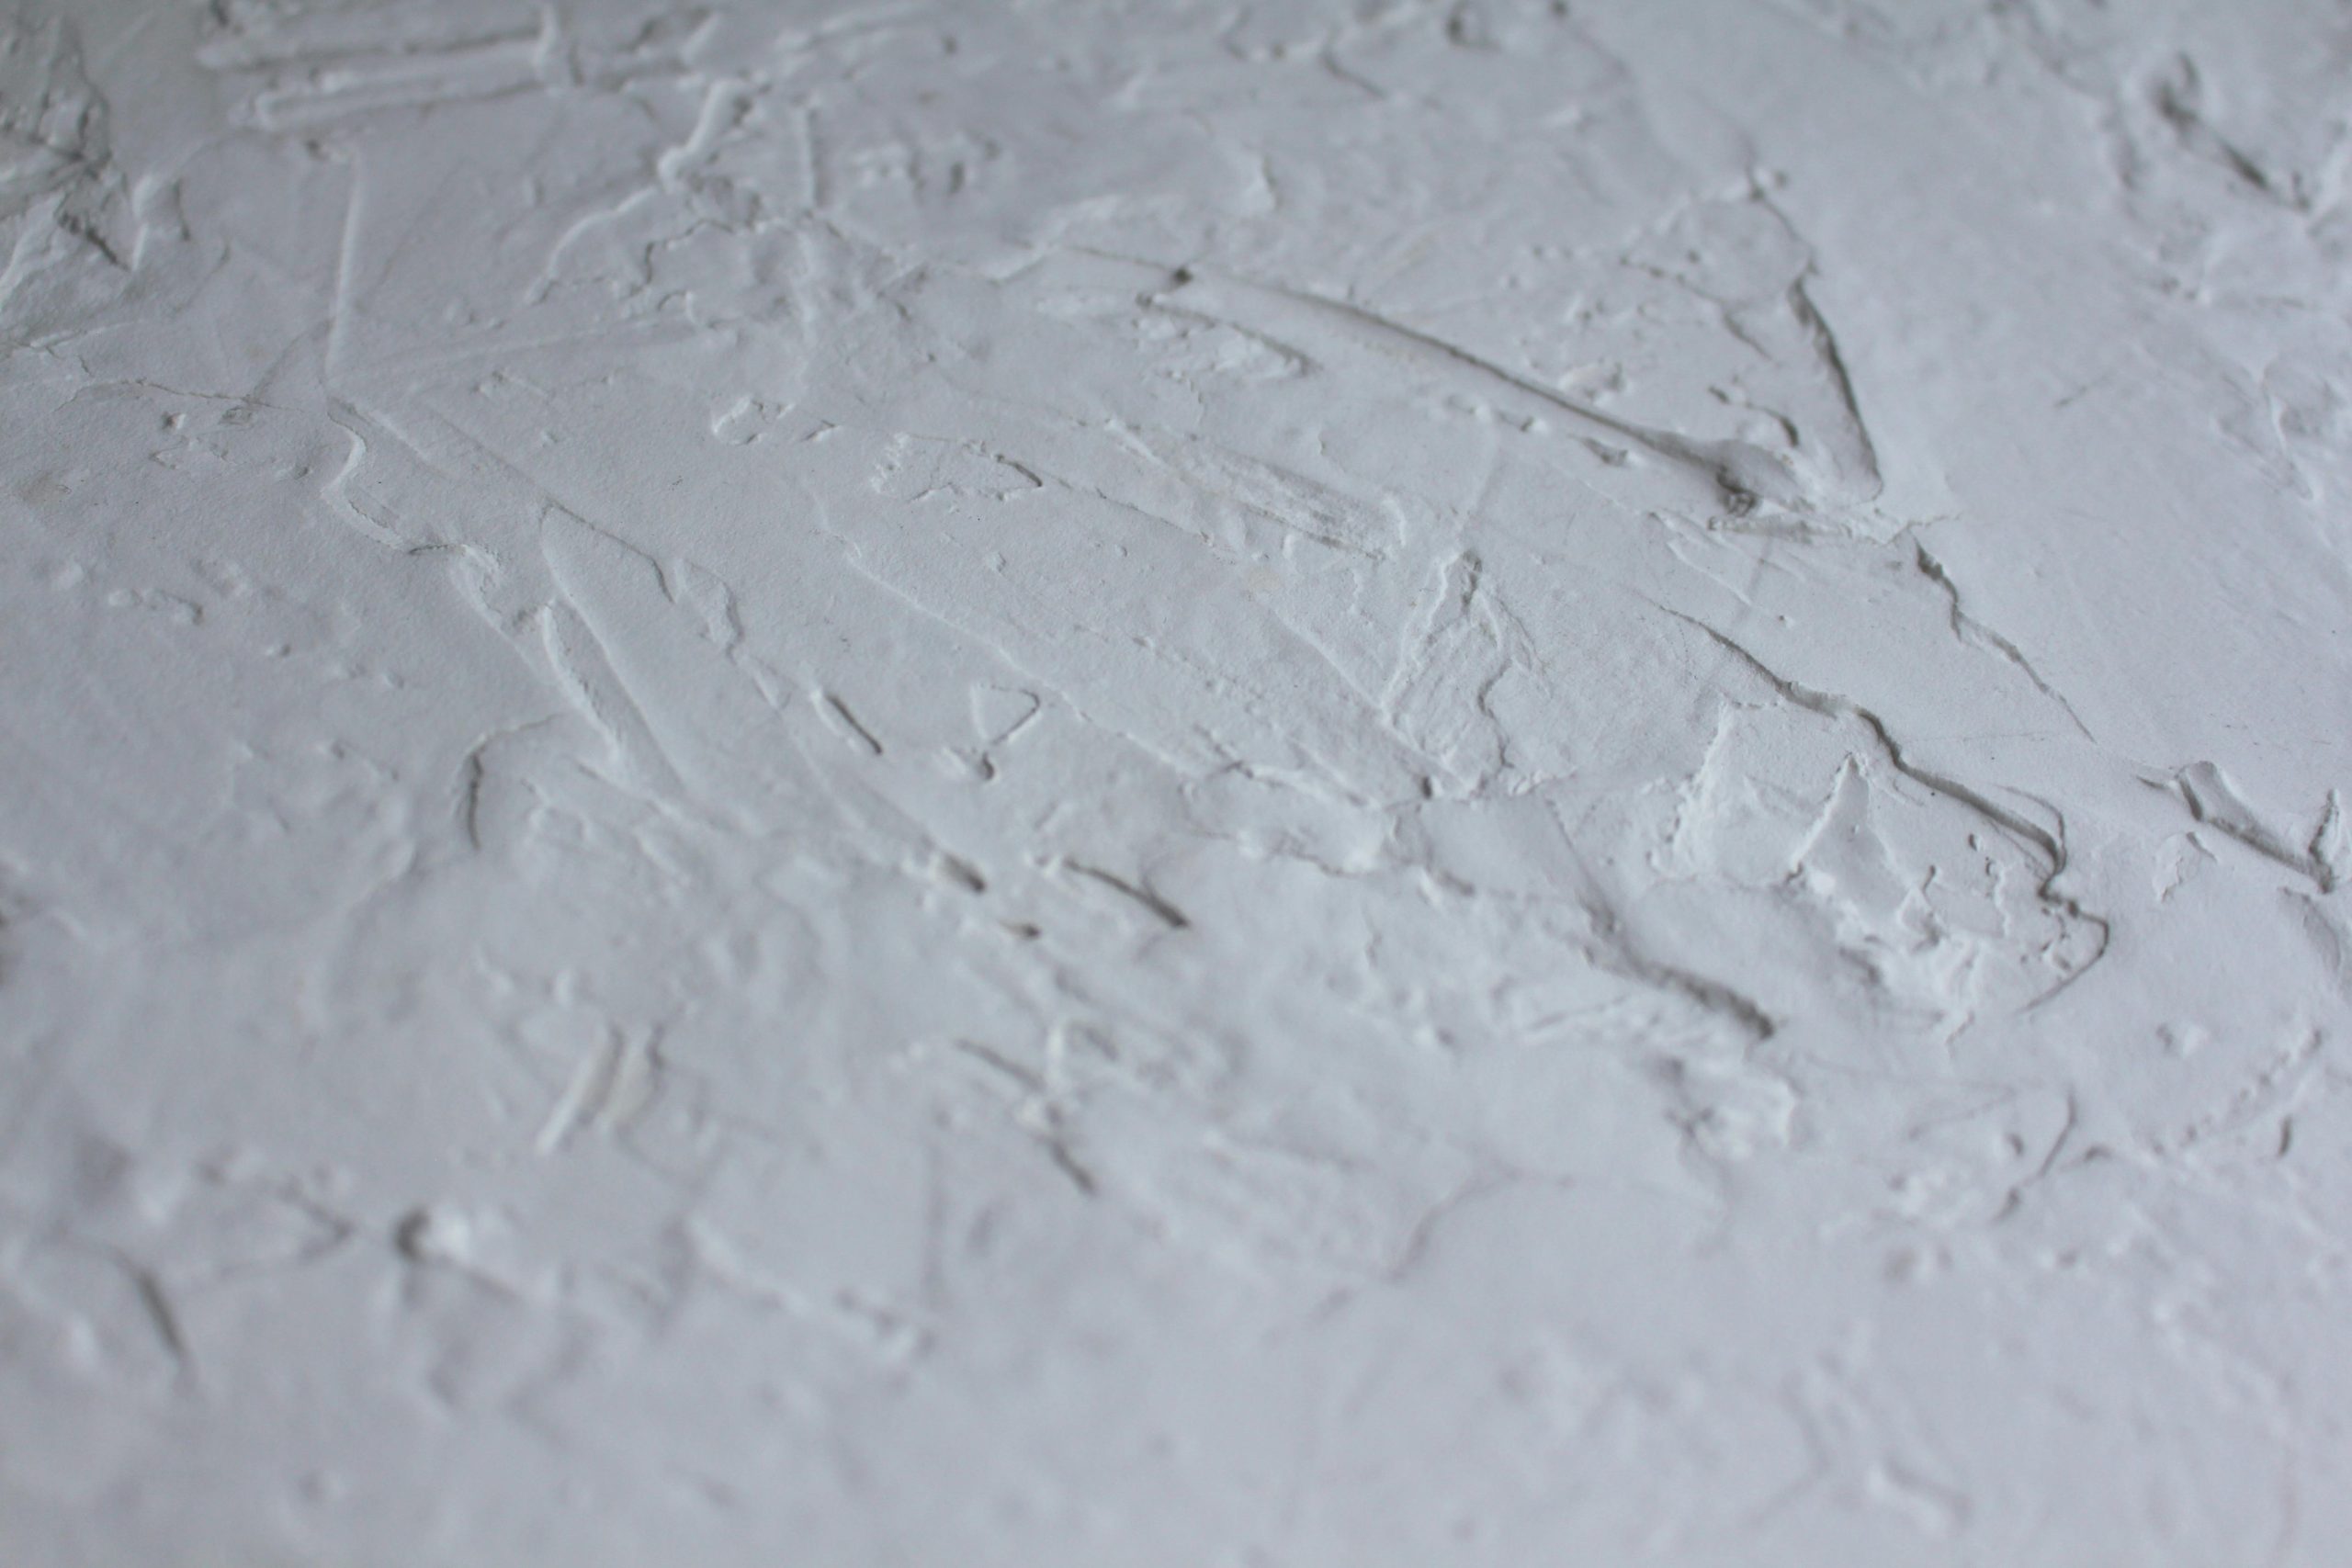
Rendering is a construction technique that involves applying a protective layer to exterior walls, usually composed of cement, sand, and water. This mortar mix creates smooth or textured surfaces on buildings' exterior walls. Although rendering is primarily used for exterior walls, it can also be used for interior walls for a slightly different look, such as a feature wall.Why is Rendering Important?
Rendering protects against weather elements such as rain, wind, and UV radiation - safeguarding buildings from structural damage and deterioration. A well-applied render can significantly enhance the longevity of exterior walls by preventing moisture ingress, reducing the risk of cracks, and improving overall structural integrity.
Types of Rendering
1. Cement Render
Cement render is one of the most traditional types of rendering. It consists of a mixture of cement, sand, and water. It provides a durable and weather-resistant finish suitable for exterior walls. Cement render can be applied on multiple coasts and can be used to create a smooth, coarse, or textured finish. It’s also the cheapest regarding materials, so it is a good choice for renovating on a budget.2. Acrylic Render
Acrylic render is a modern alternative to traditional cement render, incorporating acrylic polymers into the mixture. This enhances flexibility, adhesion, and water resistance, making it more durable and less prone to cracking. Acrylic render is also available in a wide range of colours and textures, offering versatility in design. If you want to add a vibrant colour or distinct texture to your exterior walls, consider acrylic render.3. Silicone Render
Silicone render has gained popularity recently due to its exceptional durability, weather resistance, and aesthetic appeal. However, this premium rendering solution can be slightly more costly than alternatives. Silicone render is also referred to as the ‘self-cleaning’ option, as it’s designed to keep the wall dry, resulting in less moisture and algae. Silicone render is also one of the easiest to apply, so if you don’t mind compromising on cost for high-performance exterior rendering that offers excellent durability, weather resistance, aesthetic versatility, and longevity, silicone render can be a brilliant choice.4. Lime Render
Lime render is made from lime, sand, and water. It offers a breathable, flexible finish suitable for historic or heritage buildings, providing a soft and natural appearance. It allows moisture to evaporate from the walls, preventing dampness and promoting the structure's longevity. For a textured finish that complements traditional architecture, think lime render.5. Monocouche Render
A popular choice for exterior wall finishes, monocouche render is known for its single-coat application and self-coloured finish. This pre-mixed render contains additives for improved water resistance and adhesion, simplifying installation and reducing labour costs. Monocouche render offers a variety of textures and colours, providing a durable and weather-resistant finish that enhances the aesthetic appeal of buildings while requiring minimal maintenance - but can be more costly than other options.
What is Plastering?
Similar to rendering, plastering is a technique for applying a smooth and even layer of plaster to interior walls and ceilings. Plaster is typically composed of gypsum, lime, or cement mixed with sand and water.
Why is Plastering Important?
Plastering creates a smooth and even surface on walls and ceilings, which serves as a suitable base for painting, wallpapering, or other decorative finishes. It conceals imperfections in the substrate, such as bumps, cracks, or unevenness- ensuring a flawless final appearance.Types of Plaster
1. Gypsum Plaster
Gypsum plaster, also known as plaster of Paris, is a lightweight material made from gypsum powder mixed with water. It sets quickly and is commonly used for interior walls and ceilings due to its smooth finish and ease of application.2. Lime Plaster
Made from lime, sand, and water, lime plaster has been used for centuries in construction. It offers excellent breathability and flexibility, making it suitable for historic and period buildings. Additionally, lime plaster is resistant to mould and mildew growth.3. Cement Plaster
Also known as stucco, cement plaster is a mixture of cement, sand, and water. It provides a robust and resilient finish, protecting buildings from harsh environmental conditions. This mix is also used for rendering on exterior walls.Rendering Vs Plastering: Key Differences
|
Rendering |
Plastering |
|
Protects and enhances exterior walls. |
Protects and strengthens interior walls and ceilings. |
|
Contains a higher percentage of cement in its composition. |
Contains less cement in its composition. |
|
Thicker coat applied. |
Thinner coat applied. |
|
Can create smooth, textured, or decorative finishes. |
Creates smooth and uniform surfaces. |
|
Adds an extra layer of insulation to exterior walls. |
Primes interior walls in preparation for wallpaper and painting. |
|
Waterproof and fireproof a building. |
Enhances appearance and integrity of interior walls. |
|
Reduces maintenance costs in the long run. |
|
| Repair cracks in exterior walls. |
Technique to Render an Exterior Wall
Rendering involves several steps to achieve a smooth, durable finish on exterior walls. Here’s a general guideline overviewing the process:1. Prepare the Exterior Wall’s Surface
Ensure the surface is clean, free of debris, and structurally sound. Repair any cracks or damage and apply a suitable primer if necessary.2. Mix the Render
Prepare the render mixture according to the manufacturer’s instructions. This typically involves mixing cement, sand, and water in the correct proportions. Additives such as plasticisers or waterproofing agents may also be included for specific requirements.3. Apply the Render
Apply the render to the exterior wall using a trowel, starting from the bottom and working upwards. Spread the render evenly in thin layers, building up thickness as needed. Use a straight edge or level to ensure a uniform finish.4. Texturing
If you’d like a textured finish, use tools such as float, sponge, or brush to create textured or decorative patterns on the surface. Alternatively, leave the surface smooth for a clean, modern look.5. Leave the Render to Cure
Allow the render to cure and dry according to the manufacturer’s instructions. This typically involves keeping the surface damp and protected from direct sunlight and extreme weather conditions for a specific period.6. Finishing
Once the render has cured, inspect the surface for imperfections and make necessary touch-ups. Optionally, apply a sealer or paint to enhance the appearance and provide additional protection against weathering.Technique to Plaster an Interior Wall
To achieve a smooth, uniform finish on interior walls and ceilings, follow the below steps:1. Surface Preparation
Ensure the interior wall surface is clean, dry, and debris-free. Repair cracks, holes, or unevenness using a suitable filler or patching compound. Sand down rough spots and remove any loose material for a smooth base.2. Mix the Plaster
Prepare the plaster mixture following the manufacturer's instructions. Use a clean plasterer’s bucket or mixing tray to mix the plaster powder and water until you reach a smooth, lump-free consistency. Use a paddle mixer or hand tools to mix the plaster thoroughly.3. Start Applying the Plaster
Start by applying a base coat of plaster, also known as the scratch coat, to the surface using a plastering trowel. Spread the plaster evenly in thin layers, working from the bottom upwards. Use a straight edge or level to ensure a level surface. Once the base coat has been applied, allow it to partially set before applying another layer.4. Apply the Second Coat
Once the scratch coat has dried to a tacky consistency, apply a second coat of plaster, known as the skin coat, over it. Again, spread the plaster evenly and smooth out any bumps or ridges using a plastering trowel or float. Work quickly to achieve a uniform finish before the plaster begins to set.5. Finishing
Once the plaster has dried sufficiently, use a damp sponge or polishing float to smooth out any imperfections and achieve a flawless finish. Pay attention to corners and edges to ensure they are neat and uniform. Allow the plaster to fully dry and cure before applying any further treatments or finishes.
Want to know more about rendering or plastering? Contact us at Fastbuild today. We’re more than happy to help.