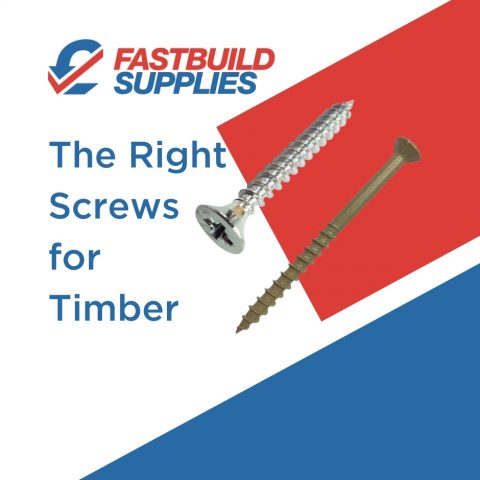
Concrete screws are used to anchor objects to concrete, masonry, or brick surfaces. They provide a strong and reliable hold, making them a good choice for various construction and DIY projects. This guide will cover everything you need to know about concrete screws, including their types, installation process, considerations, and tips for best results.
Contents:
- What Are Concrete Screws?
- Types of Concrete Screws
- Choosing the Right Concrete Screw
- Tools and Materials Required
- Preparation and Safety
- How To Use Concrete Screws
- Common Problems and Troubleshooting
- Removal of Concrete Screws
- Applications of Concrete Screws
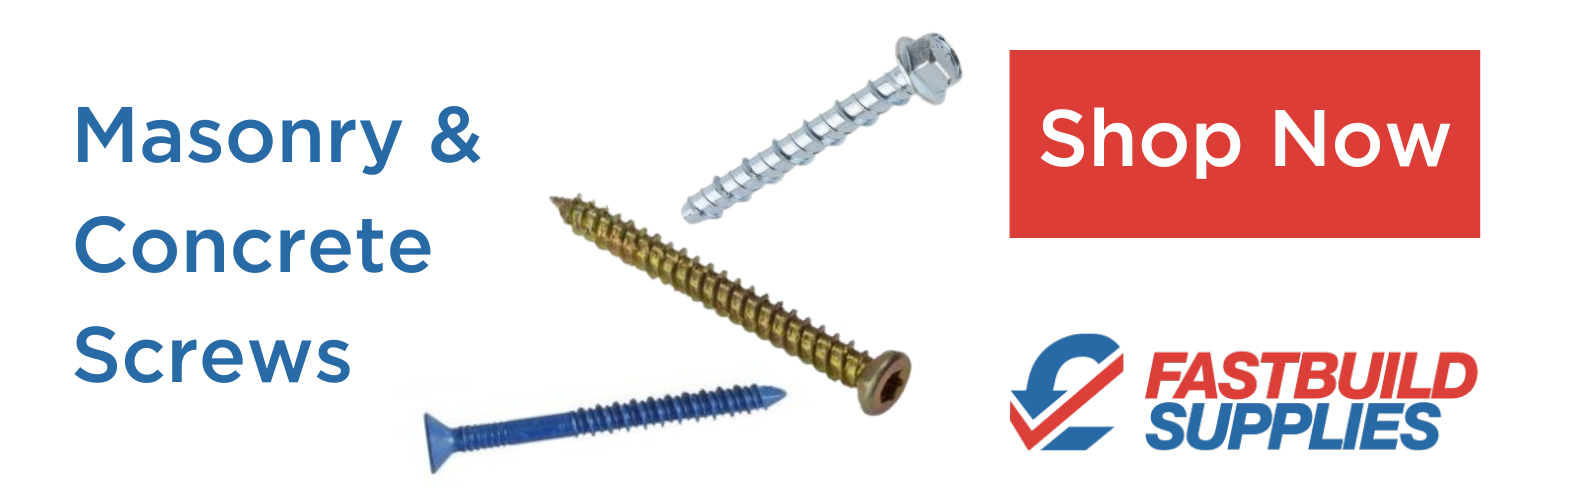
What Are Concrete Screws?
Concrete screws are specialised fasteners designed to securely attach items to concrete, masonry, or brick surfaces. Unlike traditional anchors, concrete screws do not require the use of plastic or metal sleeves or expansion mechanisms to achieve their hold. Instead, they create their own threads within the base material, providing a reliable and strong connection.
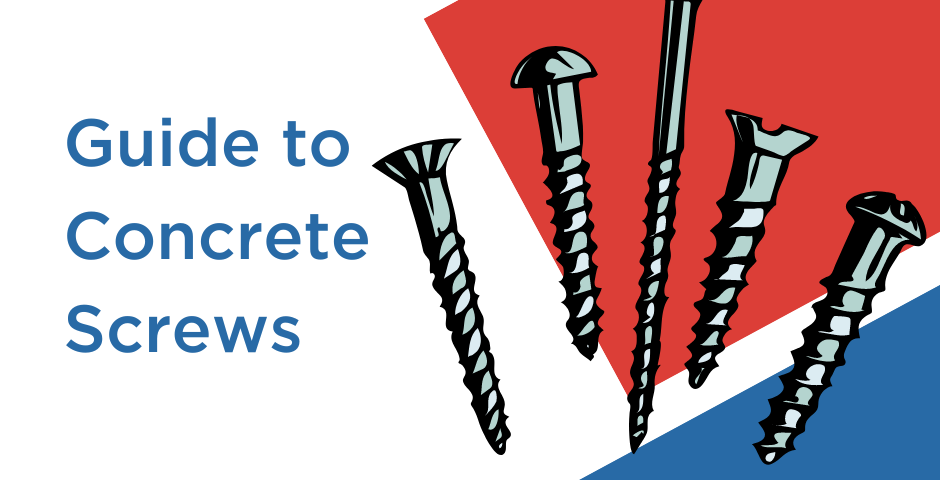
Types of Concrete Screws
There are several types of concrete screws available, each suited for specific applications:
Hex Head Concrete Screws
A concrete screw with a hex head is a self-tapping screw with a washer, which is suitable for use in concrete, brick, dense blocks and stone. These screws have a hexagonal head that requires a wrench for installation.
The hex head allows for firmer tightening than other screw options, making it suitable for fixing things like rails and wall plates.
Suitable for fixing into:
- Concrete C20/25 to C50/60
- Non-Cracked Concrete
- Hollow Concrete Planks
- Solid Brickwork
- Concrete Block
- Natural Stone
Tapcon Countersunk Head Screw
The Tapcon Countersunk Head Screw is a masonry fastening system that cuts its own thread into concrete, masonry and brick. It can also be used in wood to join concrete and timber, making it useful for the installation of suspended ceilings, timber to concrete formwork battens, fire protection insulation systems to masonry, as well as M&E applications.
Tapcon Countersunk Head Screws have many advantages - they can be installed close to edges, they are removable and adjustable, fire resistant and can replace small diameter expansion anchors, plugs and screws in light to medium-duty applications.
Suitable for fixing into:
- Concrete
- Masonry
- Blockwork
- Pre-cast hollow concrete beams
- Wood
Concrete Frame Screw
The Concrete Frame Screw is a countersunk self-tapping anchor for use in concrete and masonry. It is ideal for fixing window frames and doors, and the countersunk style provides a neat finish. The undercutting action provides a solid fixing without the need for expansion, making it suitable for close-edge fixing. Install by drilling a 6mm hole, then screw in with a T30 bit.
Suitable for fixing into:
- Dense Concrete
- Bricks
- Natural Stone
Choosing the Right Concrete Screw
To select the appropriate concrete screw, consider the following factors:
- Weight Capacity: Determine the load requirements of your project to choose screws that can handle the weight.
- Length: The length of the screw should be sufficient to penetrate the fixture and the base material while leaving enough thread engagement for a secure hold.
- Head Type: Choose the head type that best suits your installation method and aesthetic preferences.
- Material: Ensure the screws are made of a corrosion-resistant material such as stainless steel or coated steel, especially for outdoor or wet environments.
Tools and Materials Required to Install Concrete Screws
Gather the necessary tools and materials before starting the installation:
- Concrete screws of the appropriate size and type
- Drill (hammer drill recommended for harder materials)
- Masonry drill bit (carbide-tipped, the size should match the diameter of the screw)
- Screwdriver or wrench (depending on the screw head type)
- Dust mask and safety glasses
- Vacuum or brush for cleaning drilled holes
- Level and measuring tape

Safety For Drilling and Installing Concrete Screws
Before drilling and installing the concrete screws, take the following precautions:
- Locate Utilities - Ensure there are no electrical, plumbing, or gas lines in the vicinity of your drilling and installation area.
- Wear Safety Gear - Put on safety glasses and a dust mask to protect against dust and debris during drilling.
How To Use Concrete Screws
Step 1: Prepare the surface
Ensure that the concrete or masonry surface is clean and free of any debris, dust or dirt. If necessary, use a wire brush or a vacuum to remove any loose particles.
Step 2: Mark the drill points
Mark the locations where you want to install the screws. Use a measuring tape and level to mark the drill points accurately with a pencil to make precise markings on the concrete.
Step 3: Select the appropriate drill bit
Choose a masonry drill bit that matches the diameter of the concrete screw you will be using. The package of the concrete screws should specify the correct drill bit size to use.
Step 4: Drill pilot holes
Put on your safety goggles and, if needed, a dust mask. Insert the selected masonry bit into your power drill. Drill pilot holes into the concrete or masonry at the marked points. The pilot holes should be slightly smaller in diameter than the concrete screws you plan to use. Be sure to drill to the recommended depth, which is usually slightly deeper than the length of the screw.
Step 5: Clean
Use a vacuum to remove any dust and debris from the drilled holes, so they are clear to add the screws.
Step 6: Install the concrete screws
Insert the concrete screw into the pilot hole, making sure it is properly aligned. Using a manual screwdriver or the appropriate driver bit in your power drill, begin driving the screw into the hole. Apply steady pressure and rotate the screw clockwise until it is securely fastened into the concrete. Ensure the screw goes in straight and doesn't cross-thread.
If you encounter significant resistance, you can tap the screw gently with a hammer to help it get started.
Remember to follow the manufacturer's instructions for the specific concrete screws you are using, as some variations may exist in terms of material composition and installation procedures.
Common Problems and Troubleshooting:
- Breaking Screws: Ensure you are using the right size and type of screw for the application and that you're not over-tightening.
- Stripped Threads: Avoid cross-threading and use the correct screwdriver or wrench.
- Loose Hold: Double-check the weight capacity and consider using longer screws or additional anchors if necessary.
Removal of Concrete Screws
To remove concrete screws, turn them counterclockwise using an appropriate tool. If they resist removal, try gently tapping the screw with a hammer while turning to loosen it.
Applications of Concrete Screws
Concrete screws are ideal for a wide range of applications, including:
- Installing shelves and brackets
- Mounting TV brackets
- Attaching wooden or metal frames to concrete walls
- Securing handrails and railings
- Anchoring outdoor structures like fences and pergolas