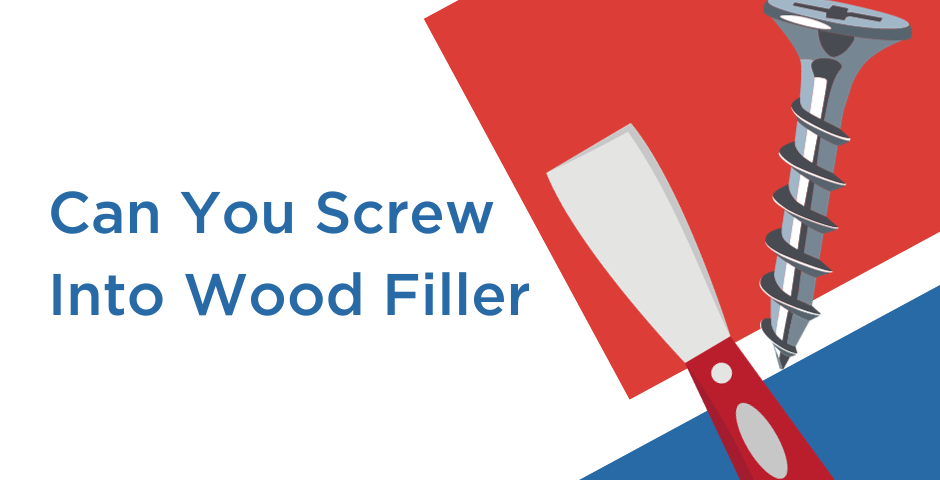
Wood filler is a versatile material used to repair and fill gaps, cracks, and holes in wood surfaces. Once you have used it to fill in gaps in your wood, you may be wondering if you can screw into it.
While wood filler is not as robust as solid wood, it is possible to screw into it with proper preparation and care. By following the steps outlined in this blog post, you can successfully use wood filler to repair imperfections in wooden surfaces and still achieve a secure way to screw into it.
What is Wood Filler?
Before delving into whether you can screw into wood filler, it's essential to understand what wood filler is and how it works. Wood filler is typically made from a mixture of wood dust, binders, and a diluting agent. It is designed to mimic the appearance and texture of wood. It's commonly used to repair minor imperfections, such as cracks, gaps, or small holes in wooden surfaces.
Can You Screw into Wood Filler?
The short answer is yes, you can screw into wood filler, but with some important considerations. While wood filler is not as robust as solid wood, it can provide adequate support for screws when used properly. The key lies in understanding the limitations of wood filler and taking the necessary precautions during the screwing process.
Try to Avoid Load-Bearing Applications
It's generally not recommended to rely on wood filler for load-bearing applications or situations where strength and stability are crucial. While you can screw into wood filler with successful results, if you are trying to put up a heavy item, it would be better to screw into solid wood.

How to Screw into Wood Filler
To get the best results from screwing into wood filler, it is important to take the following steps into consideration to ensure the most secure finish.
Select the Right Type of Wood Filler
Choose a high-quality wood filler that is compatible with your project. Consider factors such as the type of wood you're working with and the size of the hole or imperfection you're filling. Some wood fillers are designed to be more durable and solid than others. High-quality, hardening wood fillers might offer better support for screws. Follow the manufacturer's instructions for proper application and drying times.
Prepare the Surface
Ensure the area where you plan to apply the wood filler is clean and free of debris. Sand the surface lightly to create a smooth and even base for the wood filler. Wipe away any dust or residue before proceeding.
Apply the Wood Filler
Using a putty knife or a similar tool, apply the wood filler to the damaged area. Press the filler firmly into the hole or gap, and smooth the surface to match the surrounding wood. Allow the filler to dry completely before moving on to the next step.
It is crucial that the wood filler is completely dried and hardened before you screw into it.
Drill Pilot Holes
Before screwing into the wood filler, it’s a good idea to drill pilot holes to guide the screws. This can help prevent the wood filler from cracking or breaking when the screw is inserted and ensures a more secure and precise placement of the screws. Choose a drill bit size that matches the diameter of your screws.
Screw into the Wood Filler
Use a screwdriver or a power drill to insert the screws into the pilot holes. Apply steady and even pressure to avoid damaging the wood filler. If you encounter resistance, stop and assess whether adjustments are necessary.
Avoid Over-tightening
Be cautious not to over-tighten the screws, as this can cause the wood filler to crack or crumble. Stop screwing when you feel resistance, indicating that the screw has reached its secure position.
Explore our range of fillers to discover the best options for your construction project.